

Easy Handmade Candle Making Techniques for a Cozy Home Atmosphere
There is something quietly powerful about a flickering candle. The soft light, the gentle scent drifting through a room — it shifts the entire mood of a space in minutes. Making your own candles at home takes that experience one step further, turning a simple craft into something personal and deeply satisfying.
Why Make Your Own Candles at Home
Handmade candles let you control exactly what goes into them — the scent, the burn time, the look — at a fraction of the cost of store-bought alternatives. Beyond the savings, candle making connects directly to the hygge philosophy: the Danish concept of creating warmth, comfort, and togetherness in your living space.
A single candle making session can produce four to six candles for roughly the same price as one premium retail candle. Over time, those savings add up. But the real draw is customization. You choose the fragrance combination that reminds you of autumn walks or fresh linen. You pick the container that fits your shelf. The result feels like home in a way a mass-produced product rarely does.
Candle making is also a genuine form of self-care. The process itself — measuring, melting, blending scents — is meditative. Many people find it as calming as the candles they end up making.
Essential Supplies You'll Need Before You Start
To start making candles at home, you need six core materials: wax, wicks, containers, fragrance, a melting vessel, and a thermometer. Everything else is optional.
Here is what to gather before your first pour:
- Wax — soy wax, beeswax, or paraffin wax (more on choosing below)
- Cotton wicks — pre-tabbed wicks sized to your container diameter work best for beginners
- Containers — mason jars, tins, or teacups; anything heat-safe and without cracks
- Fragrance oils or essential oils — for scent; fragrance oils generally offer stronger cold and hot throw
- Double boiler or melting pot — a dedicated pouring pitcher inside a pot of simmering water works perfectly
- Thermometer — a simple candy or infrared thermometer keeps your pour temperature accurate
- Wick centering tool or pencils — keeps the wick straight while the wax sets
You can buy these items individually or as a candle making kit, which often includes measured quantities of each supply — a convenient starting point if you want to skip the guesswork on proportions.
Choosing the Right Wax for Your Candles
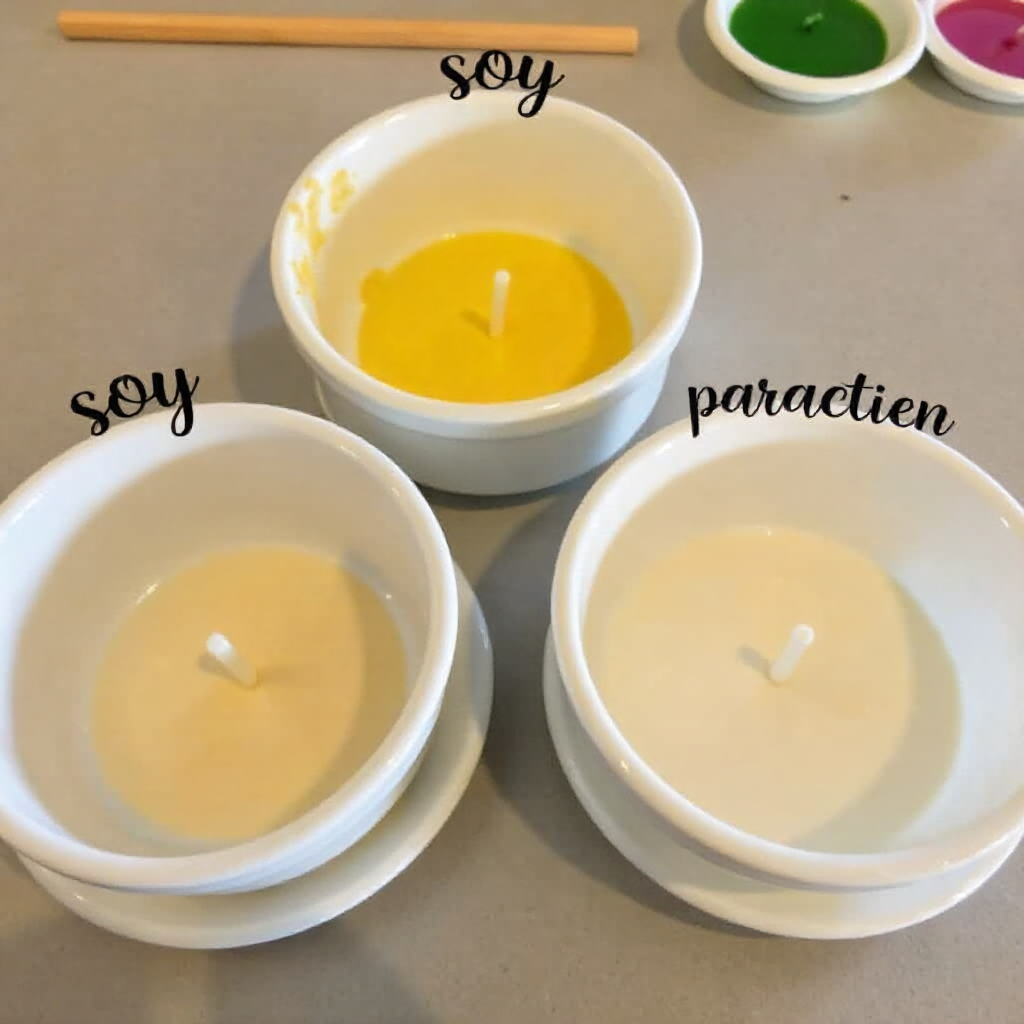
The best wax for beginners is soy wax. It melts at a low temperature, adheres well to container sides, and is forgiving of minor mistakes. Beeswax and paraffin are both excellent but come with different trade-offs worth understanding.
Soy wax is made from hydrogenated soybean oil. It burns cleanly, has a long burn time, and holds fragrance well. The main downside is that it can develop a slightly rough or frosted surface as it cools — purely cosmetic, but worth knowing.
Beeswax is the most natural option and produces a warm, honey-like scent on its own. It burns longer than soy and has a beautiful golden color. The trade-off: it is significantly more expensive and can be tricky to blend with added fragrances since it has a strong natural scent of its own.
Paraffin wax is the most widely used candle wax commercially. It produces excellent scent throw and a smooth, glossy finish. Some people prefer to avoid it due to its petroleum origin, though well-made paraffin candles burned in ventilated spaces are generally considered safe for home use.
For a first project, soy wax is the practical choice. It is affordable, widely available, and leaves room for experimentation without frustration.
Step-by-Step: Basic Container Candle Technique
Making a container candle involves four stages: melting the wax, adding fragrance, pouring into the container, and letting it cure. The whole process takes about an hour of active time, plus curing.
- Prepare your containers. Clean and dry your jars or tins completely. Attach a pre-tabbed cotton wick to the bottom center using a dab of hot glue or a wick sticker. Rest a pencil or wick bar across the top to hold the wick upright.
- Melt the wax. Fill your double boiler with a few inches of water and bring it to a gentle simmer. Add wax flakes to the inner pot or pouring pitcher. Stir occasionally until fully melted. Most soy waxes melt between 170°F and 180°F (77°C–82°C).
- Add fragrance at the right temperature. Remove the wax from heat and let it cool to around 140°F–150°F (60°C–65°C) before adding fragrance oils. This is your pour temperature sweet spot — hot enough for the fragrance to bind, cool enough to prevent it from burning off.
- Stir thoroughly. Mix fragrance into the wax for at least two minutes. Consistent stirring helps the scent distribute evenly and improves the final scent throw.
- Pour slowly. Fill your containers, leaving about half an inch of space at the top. Pour in a slow, steady stream to minimize air bubbles.
- Let it set undisturbed. Allow candles to cool at room temperature for 24 hours. Avoid moving them or placing them in a cold draft, which can cause cracking or uneven surfaces.
- Trim the wick and cure. Once set, trim the wick to about 6mm (¼ inch). Then let your candles cure for 48 hours minimum — ideally a full week for soy wax — before burning.
Scent Combinations That Create a Cozy Atmosphere
The right fragrance pairing transforms a candle from pleasant to genuinely atmospheric. Layering two or three complementary scents creates depth that a single note rarely achieves.
Here are a few combinations worth trying, organized by mood:
- Warm and grounding: vanilla + sandalwood + a touch of clove. This combination works beautifully in living rooms during autumn and winter.
- Fresh and calming: lavender + cedar + eucalyptus. Ideal for bedrooms or home offices where you want relaxation without heaviness.
- Bright and uplifting: orange + cinnamon + ginger. A natural fit for kitchens or entryways, especially in colder months.
- Clean and airy: linen + white tea + light musk. Works in bathrooms or any space where you want a subtle, unobtrusive scent.
When blending essential oils or fragrance oils, start with a ratio of roughly 70% base note (sandalwood, vanilla, cedar) to 30% top note (citrus, lavender, eucalyptus). This keeps the scent balanced rather than sharp or one-dimensional.
The fragrance load — how much scent you add per pound of wax — typically sits between 6% and 10% for soy wax. Going above 10% rarely improves the scent throw and can cause the fragrance to pool on the surface or prevent the candle from setting properly.
Creative Container Ideas to Match Your Home Décor
The container you choose shapes both the look and the feel of a finished candle. Almost any heat-safe vessel works, which opens up a surprising range of options.
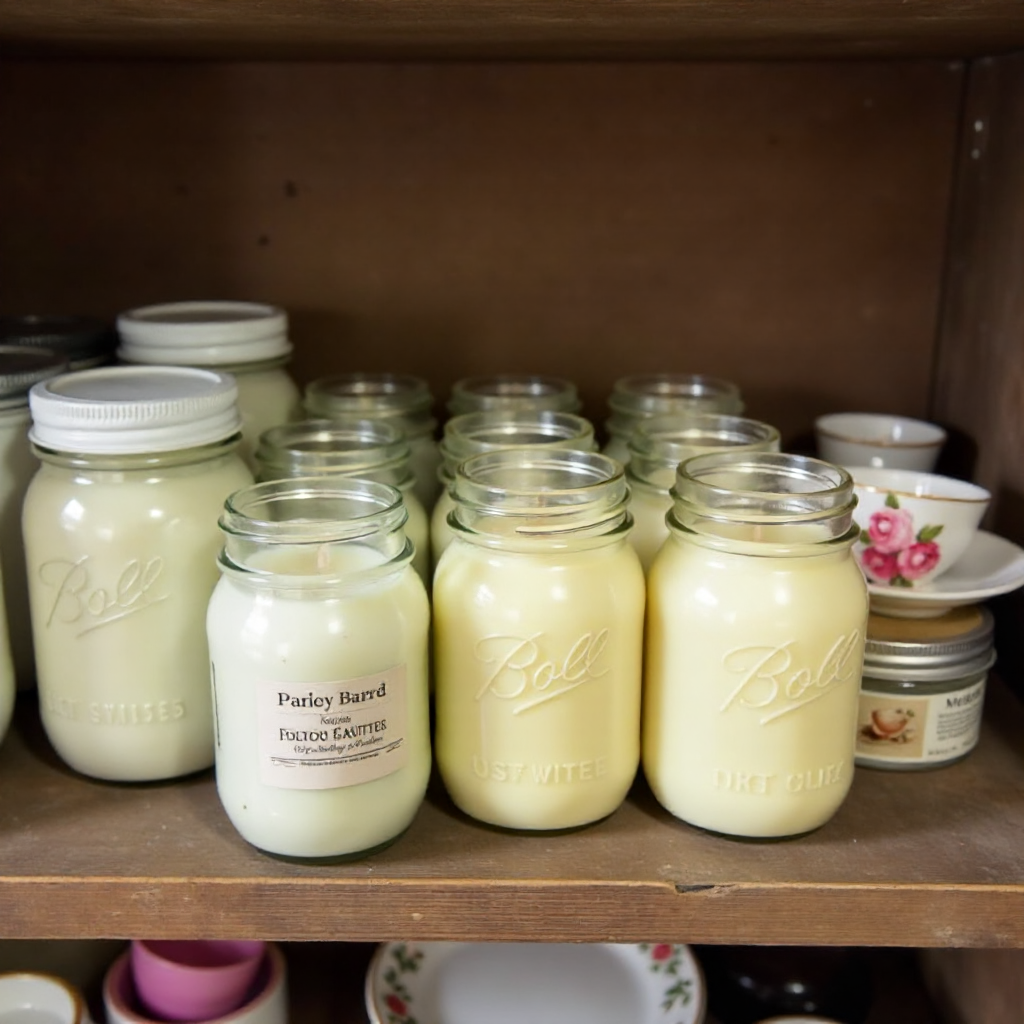
Mason jars are the classic choice for good reason. They suit farmhouse, rustic, and Scandinavian-inspired interiors, and their wide mouth makes pouring and wick placement easy. Clear glass also lets you layer colored wax if you want to experiment later.
Vintage teacups bring an entirely different energy — delicate, nostalgic, and charming on a bookshelf or bedside table. Thrift stores are full of mismatched china that becomes genuinely beautiful once filled with pale wax and a soft scent like rose or chamomile.
Metal tins with lids are practical and portable. They suit minimalist or industrial interiors and are easy to travel with. Small mint tins, coffee tins, and shallow cosmetic jars all work well.
For a more polished look, consider concrete pots, small ceramic bowls, or even hollowed citrus rinds for short-burn decorative candles. The only real requirements are that the container is heat-resistant, has no cracks or leaks, and is wide enough to accommodate your wick size.
Tips for Better Results and Common Mistakes to Avoid
Most candle making problems come down to temperature, timing, or proportion. Getting these three variables right solves the majority of issues beginners encounter.
Watch Your Pour Temperature
Pouring wax that is too hot (above 160°F for most soy waxes) can cause the fragrance to separate or produce a rough, uneven surface as the wax contracts during cooling. Too cool, and the wax may not adhere to the container sides properly, creating air pockets. A simple thermometer takes all the guesswork out of this.
Respect the Cure Time
Many beginners burn their candles within hours of pouring and then wonder why the scent is weak. Cure time is the period during which the fragrance fully bonds with the wax. For soy wax, a minimum of 48 hours is required; a full week produces noticeably better scent throw. Patience here pays off directly in the burn experience.
Center the Wick Every Time
An off-center wick causes uneven burning, which leads to tunneling — a deep hole forming down the center of the candle while the outer wax never melts. A pencil rested across the container rim or a dedicated wick centering tool costs almost nothing and prevents this entirely.
Don't Overload the Fragrance
Adding more fragrance than the wax can absorb doesn't produce a stronger-smelling candle — it produces an oily surface, poor adhesion, and sometimes a candle that won't set at all. Stick to the recommended fragrance load (6–10% for soy wax) and adjust within that range based on your results.
Frequently Asked Questions
What is the easiest wax to use for beginner candle making?
Soy wax is the easiest option for beginners. It has a low melting point, is widely available, and is forgiving of minor temperature or timing variations during the pour.
How long should homemade candles cure before burning?
Homemade candles should cure for at least 48 hours before their first burn. For soy wax candles, waiting a full week produces the best scent throw and a smoother burn.
How much fragrance oil should I add per pound of wax?
The standard fragrance load is 1 to 1.5 ounces of fragrance oil per pound of soy wax, which equals roughly 6–10%. Starting at 8% is a reliable baseline for most fragrance oils.
Can I reuse old candle containers for new candles?
Yes. Remove leftover wax by placing the container in a warm oven (around 150°F) for a few minutes, then wipe clean with a paper towel. Wash with warm soapy water and dry completely before repouring.
Why is my candle surface bumpy or uneven after cooling?
Bumpy or sinkholes on the surface usually result from the wax cooling too quickly or from air pockets forming during the pour. Try pouring at a slightly lower temperature and pouring more slowly. A second thin top-up pour after the first layer has partially set can also smooth out the surface.
Candle making rewards patience and small adjustments. Your first batch may not be perfect — and that is completely fine. Each pour teaches you something about how wax, fragrance, and temperature interact. Within a few sessions, you will have a reliable process and a home that smells exactly the way you want it to.