
DIY Planters and Pots: Creative Ideas for Indoor and Outdoor Spaces
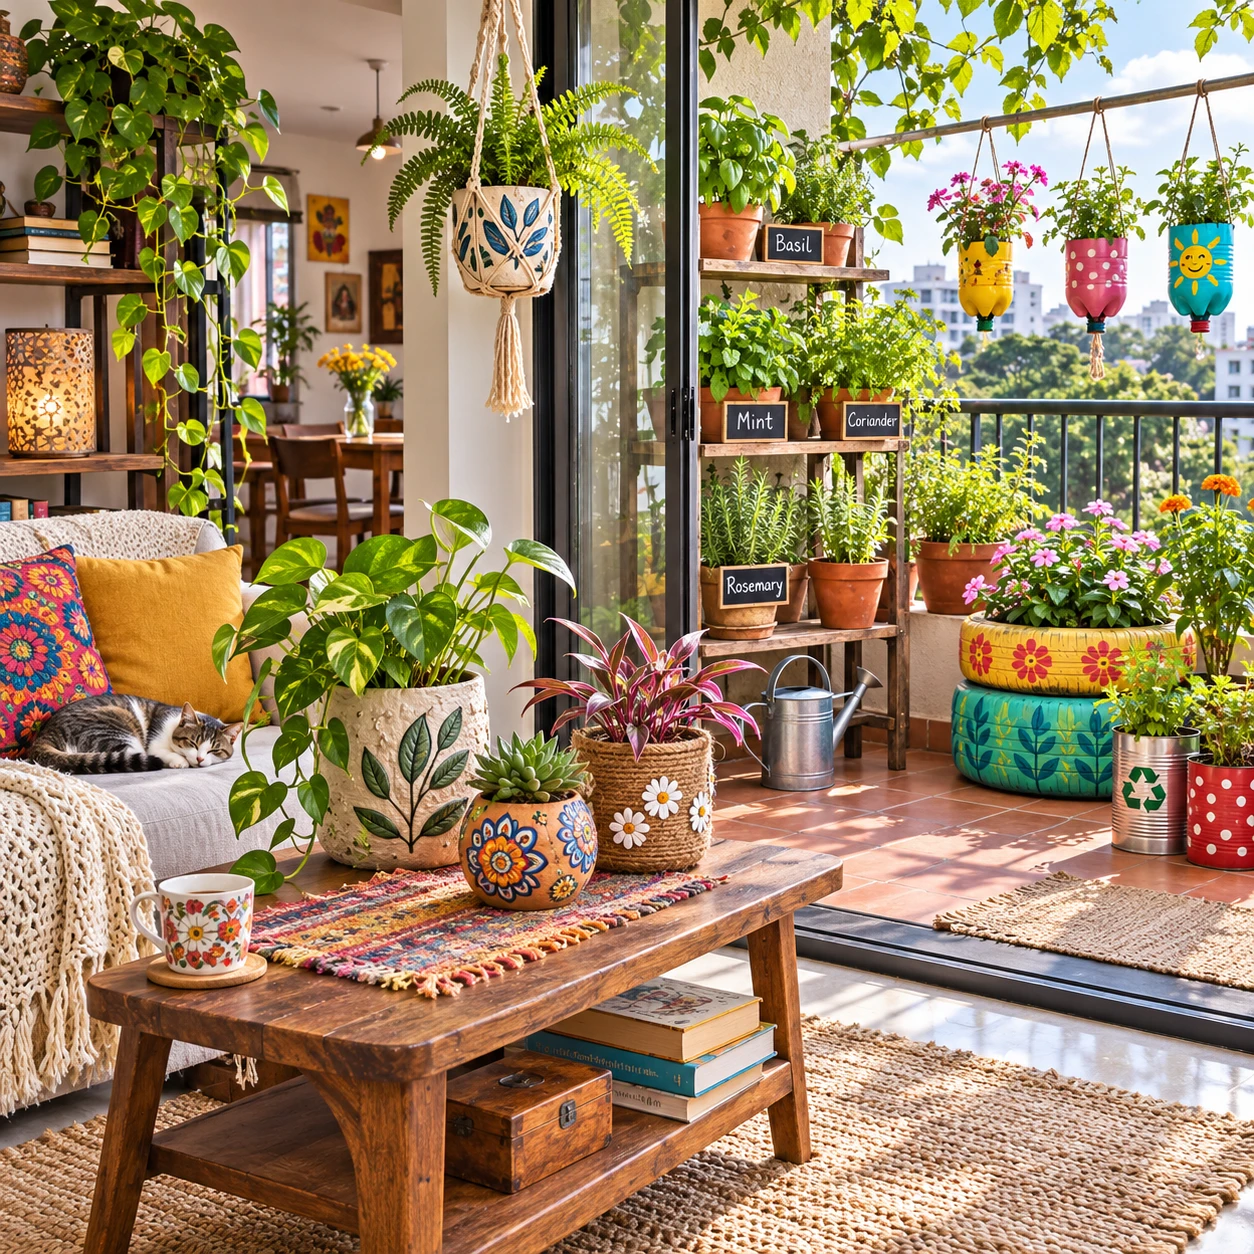
DIY planters let you tailor containers to your plants, your space, and your style. A painted terracotta pot can brighten a windowsill, while a sturdy wooden box might make a useful patio herb garden. The key is to pair the look with practical details such as container depth, drainage, and weather exposure.
With a few adaptable ideas, you can turn simple materials into indoor pots and outdoor containers that support healthy growth. Start by considering where the planter will sit and what you want to grow.
Choose a planter idea to fit your space and plants
Choose a DIY planter by matching its size, material, and drainage to the plant and its location. A suitable container gives roots room to grow and makes watering manageable.
Check the mature size of your plant before choosing a pot. A small succulent needs less soil than a leafy houseplant, while herbs such as basil and parsley benefit from enough depth for steady root growth. If you’re moving a plant from its nursery pot, choose a new container only a little wider; an oversized pot can hold excess moisture around the roots.
- For shelves and windowsills: Pick lightweight pots with stable bases, and use a waterproof tray to protect the surface.
- For patios and gardens: Choose durable containers that can handle sun, rain, and temperature changes.
- For small spaces: Consider railing planters, hanging containers, or a vertical arrangement, but check weight and secure mounting.
- For thirsty herbs: Use a pot with enough soil volume and drainage, then group plants with similar watering needs.
Terracotta pots are easy to find, breathable, and well suited to plants that prefer soil to dry between waterings. Their porous walls can also dry out quickly in hot, windy locations, so they may need more frequent watering. Decorative metal, glass, and ceramic vessels can look striking, but they often work best as cachepots: keep the plant in a functional inner pot and empty any water that collects in the outer vessel.
Simple DIY planters for indoor spaces
For indoor spaces, start with a container that fits the surface and gives you a reliable way to control excess water. Small upgrades, such as paint, a simple stand, or a decorative outer cover, can make an ordinary pot feel personal.
Try one of these approachable projects for shelves, windowsills, and tabletops:
- Painted terracotta: Brush the outside of a clean, dry pot with acrylic paint or a finish labeled for pottery. Leave the inside unpainted, especially if you plan to plant directly into it, and allow the coating to cure fully before use.
- Fabric-wrapped cachepot: Wrap a fabric remnant around a plastic nursery pot and secure it with a removable band or adhesive. Keep the fabric away from standing water to prevent mildew.
- Rope-covered pot: Apply craft glue in small sections and wind natural-fiber rope around a plain container. Use an inner pot with drainage so watering doesn’t soak the rope.
- Hanging jar display: Use a clean jar for a cutting or a plant that can live in water. For soil-grown plants, a jar without drainage requires careful watering and is less forgiving of excess moisture.
Match the finish to the room: a restrained color can sit quietly among books, while a bright pot can bring attention to a sunny windowsill. Keep taller, heavier plants on stable surfaces and use saucers under pots with drainage holes. That small precaution can prevent marks on wood and water damage to shelves.
Creative containers for patios, balconies, and gardens
Outdoor planters should be stable, drain freely, and suit the local weather. On a balcony, lightweight containers save effort, while exposed patios call for heavier or securely anchored options.
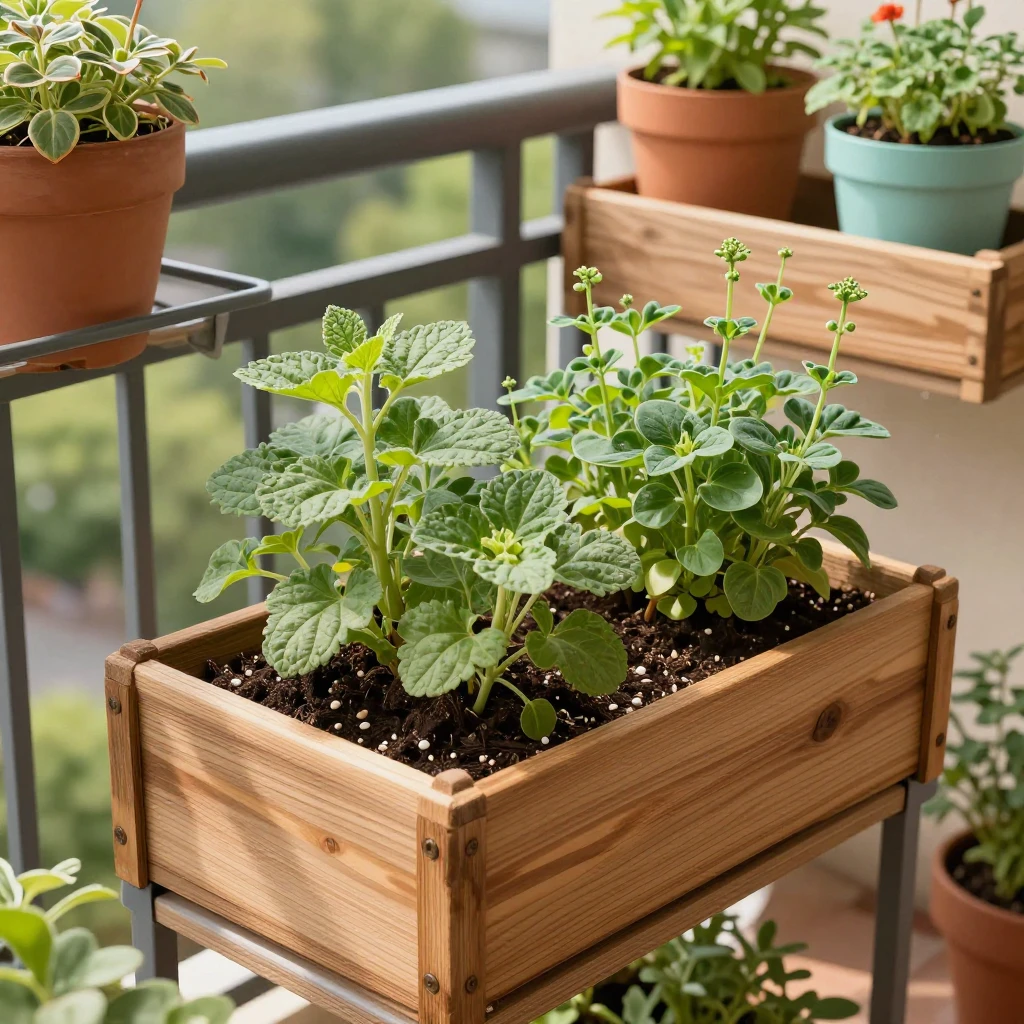
A simple wooden planter box can hold a small herb collection or seasonal flowers. Use untreated or appropriately rated wood for growing food, and line the sides if needed to slow moisture damage without blocking drainage at the bottom. A repurposed plastic storage tub can also work if it is sturdy, UV-resistant, and drilled with several drainage holes. Avoid placing a large, water-filled container where its weight could exceed a balcony’s safe load.
For compact spaces, try a vertical planter made from a stable rack or tiered shelves. Arrange pots so each plant gets enough light and water can drain without soaking the containers below. A railing planter saves floor space, but it must be firmly attached and sized for the railing; wind can make an unsecured container hazardous.
Weather-resistant finishes can help protect a planter, but products vary. Select a finish suitable for the material and outdoor exposure, follow its label, and let it cure before planting. Even a well-sealed container may need seasonal maintenance, especially after repeated freeze-thaw cycles or long periods of direct sun.
Repurpose household items into unique pots
Many household items can become decorative planters if they are clean, stable, and safe for the plant. The easiest approach is to use the found object as an outer cover and keep the plant in a removable pot with drainage.
Look for sturdy containers such as a chipped ceramic bowl, a tin can with smooth edges, a wooden crate, or a basket. Wash the item well and remove labels, residue, and sharp parts. A can may need its rim checked and covered if it is rough; a basket should usually hold a separate waterproof liner or inner pot so damp soil doesn’t damage the weave.
Before planting directly into a repurposed item, ask three questions:
- Can you make drainage holes without cracking or weakening it?
- Will the material tolerate wet soil and the intended indoor or outdoor location?
- Could old paint, chemical residue, or a sharp edge pose a risk?
Vintage containers with unknown coatings are better used as cachepots than as direct planters, particularly for edible herbs. For a quick, low-risk project, place a nursery pot inside a decorative teacup, basket, or clean tin and lift it out for watering. You get the character of a one-of-a-kind container without asking a nontraditional vessel to do a job it wasn’t designed for.
Make DIY planters practical and plant-friendly
To make DIY planters plant-friendly, provide a route for excess water, use an appropriate potting mix, and select materials suited to the plant’s setting. These choices matter more to root health than decorative details.
Drainage holes are the simplest way to prevent water from pooling in a pot. If you can safely drill the container, add holes before filling it and use a suitable drill bit for the material. If drilling is not practical, use the vessel as a cachepot: keep the plant in a draining inner pot, water it separately, and pour out excess water before returning it.
A layer of gravel at the bottom does not replace drainage holes. Instead, fill the planter with a suitable potting mix, which is generally lighter and better structured for containers than garden soil. Choose a mix that suits the plant: succulents need a fast-draining blend, while many herbs grow well in a quality general-purpose potting mix. Follow the mix label and avoid packing it down too firmly.
Use a liner where it protects the planter material, but don’t let it seal off the drainage path. For outdoor containers, select weather-resistant materials or finishes and check that holes stay open after rain. When painting or sealing a planter, follow the product’s safety and curing instructions; keep coatings away from the soil and roots unless the label says they are suitable for that use.
Style and care for handmade planters
Style handmade planters by grouping containers with a shared color or material, then vary their height and shape for interest. Keep plant-care needs in view so an attractive arrangement remains easy to water and maintain.
On a tabletop, combine one taller plant with a low pot or a small succulent to create different levels without crowding the surface. On a patio, repeat a material such as terracotta or wood to make mixed containers feel connected. Leave enough room to reach each pot, rotate plants for even light when appropriate, and place saucers where runoff could stain floors or decking.
Check soil moisture before watering rather than following a fixed schedule. Small pots may dry quickly, while large containers can stay wet longer. Empty saucers and cachepots after watering, and inspect outdoor planters for blocked drainage, loose fittings, peeling finishes, or cracks as the seasons change. Refresh paint or protective coatings only as directed by the manufacturer, and move vulnerable containers indoors when temperatures or storms threaten them.
A handmade planter works best when its decorative role and growing conditions support each other. Start with one simple container, learn how it performs in its location, and adapt the next project based on what your plants actually need.