
Upcycling Vintage Finds Into Unique Home Accessories: Creative DIY Ideas
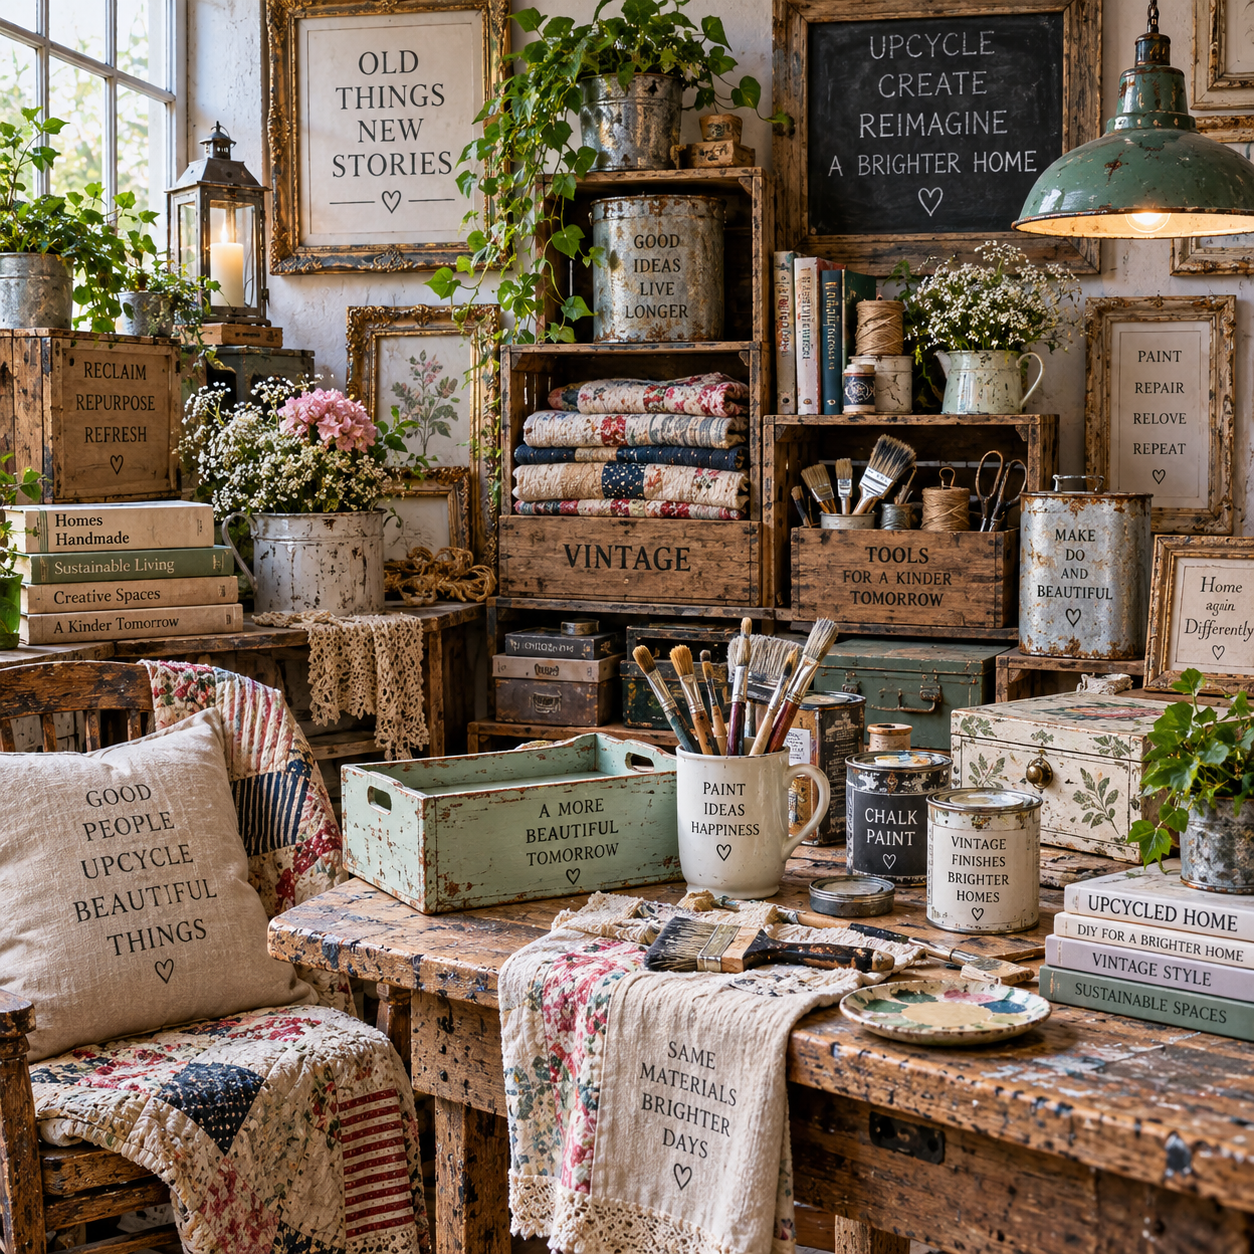
Upcycling vintage finds gives ordinary secondhand objects a useful new life while adding personality to your home. With careful preparation, a thoughtful finish, and a clear purpose, a thrifted crate can become shelving, an old frame can become a serving tray, and worn fabric can become distinctive soft furnishings.
This approach to DIY home decor suits renters, beginners, and experienced makers alike. The aim is not to erase every scratch or make an old object look factory-new. It is to preserve the details that give vintage furniture and accessories character while improving their function for modern living.
Why Upcycle Vintage Finds for Home Decor?
Upcycling vintage finds creates character-rich, personalized home accessories while making use of existing materials. It can support more considered decorating, especially when you choose objects for their quality, usefulness, and emotional appeal rather than buying purely for novelty.
Older pieces often have details that are difficult to replicate: aged wood grain, unusual hardware, hand-painted patterns, sturdy construction, or a pleasingly imperfect surface. Repurposing those qualities can make a room feel collected instead of coordinated from a single showroom.
There is also a practical advantage. A project begins with an object that already has a shape, material, or structure, so you can focus your effort on adapting it. That does not guarantee a lower cost; specialist paint, replacement hardware, and repair materials can add up. Still, you have greater control over the result and can create an accessory that fits a specific space.
For sustainable decorating, use what you already own first. An unused serving tray, damaged curtain, or forgotten wooden box may offer more potential than a new craft blank. Keeping useful items in circulation also gives your decor a story, which mass-produced accessories rarely provide.
Choosing the Right Vintage Pieces
The best vintage pieces are structurally sound, made from workable materials, and easy to connect with a realistic new function. Before buying or transforming a thrifted find, inspect its condition, proportions, surface, and safety.
Look at thrift stores, flea markets, charity shops, garage sales, and your own cupboards. Search for objects with a strong basic shape rather than focusing only on their current appearance. A chipped finish can be changed; a warped structure or severe water damage may be expensive and frustrating to correct.
Use the four-part potential check
- Condition: Check for loose joints, active mold, insect damage, deep rust, sharp edges, and strong odors. Avoid anything that feels unstable or contaminated.
- Material: Solid wood, metal, glass, ceramic, cotton, and linen each accept different paints, adhesives, and finishes. Identify the surface before choosing supplies.
- Shape: Ask whether the proportions suit a shelf, tray, planter, organizer, cushion, or wall display. A beautiful object with no practical destination may become clutter.
- Function: Imagine at least two possible uses. A wooden crate could hold books, become a wall shelf, or serve as a bedside storage unit.
Be cautious with very old painted items, especially those with flaking or chalky layers. Older coatings may contain lead. Do not dry-sand suspect paint or create dust indoors; follow local safety guidance and consider choosing a different piece if its finish cannot be handled safely. The U.S. Environmental Protection Agency’s lead safety guidance explains why renovation dust requires particular care.
Essential Tools, Materials, and Preparation
Successful upcycling starts with cleaning, inspection, light surface preparation, and the correct primer or adhesive. A modest toolkit is enough for many beginner projects, but safety equipment should never be optional.
Gather mild detergent, clean cloths, a soft brush, sandpaper in medium and fine grits, a screwdriver, measuring tape, a small drill, paintbrushes, a roller, painter’s tape, wood filler, clamps, and a suitable adhesive. Add primer, paint, clear sealer, wax, rust converter, fabric scissors, and a staple gun according to the project.
A reliable preparation sequence
- Document the original piece. Photograph unusual hardware, markings, and construction before disassembly.
- Clean gently. Remove dust and grease with diluted detergent, then let the item dry completely. Avoid soaking wood, veneered surfaces, or old paper labels.
- Repair before decorating. Tighten screws, glue loose joints, fill small holes, remove unstable rust, and replace damaged fasteners.
- Prepare the surface. Sand glossy coatings just enough to improve adhesion. Do not aggressively sand away desirable patina or printed details.
- Test materials. Apply primer, paint, or sealer to an inconspicuous area. Check color, adhesion, and reaction before covering the whole piece.
- Protect the work area. Ventilate the room, wear eye protection and a dust mask when appropriate, and follow the manufacturer’s drying and curing instructions.
Choose water-based acrylic or furniture paint for many indoor wood projects, metal primer for bare steel, and fabric paint or textile medium for washable soft furnishings. A clear water-based polyurethane can protect a painted tray, while wax may offer a softer appearance but generally needs more care and reapplication.
Creative Ways to Transform Vintage Finds
Simple transformations work best when the new function follows the object’s existing shape. Start with one practical change, then add paint, hardware, or embellishment only when it supports the design.
Turn wooden crates into storage solutions
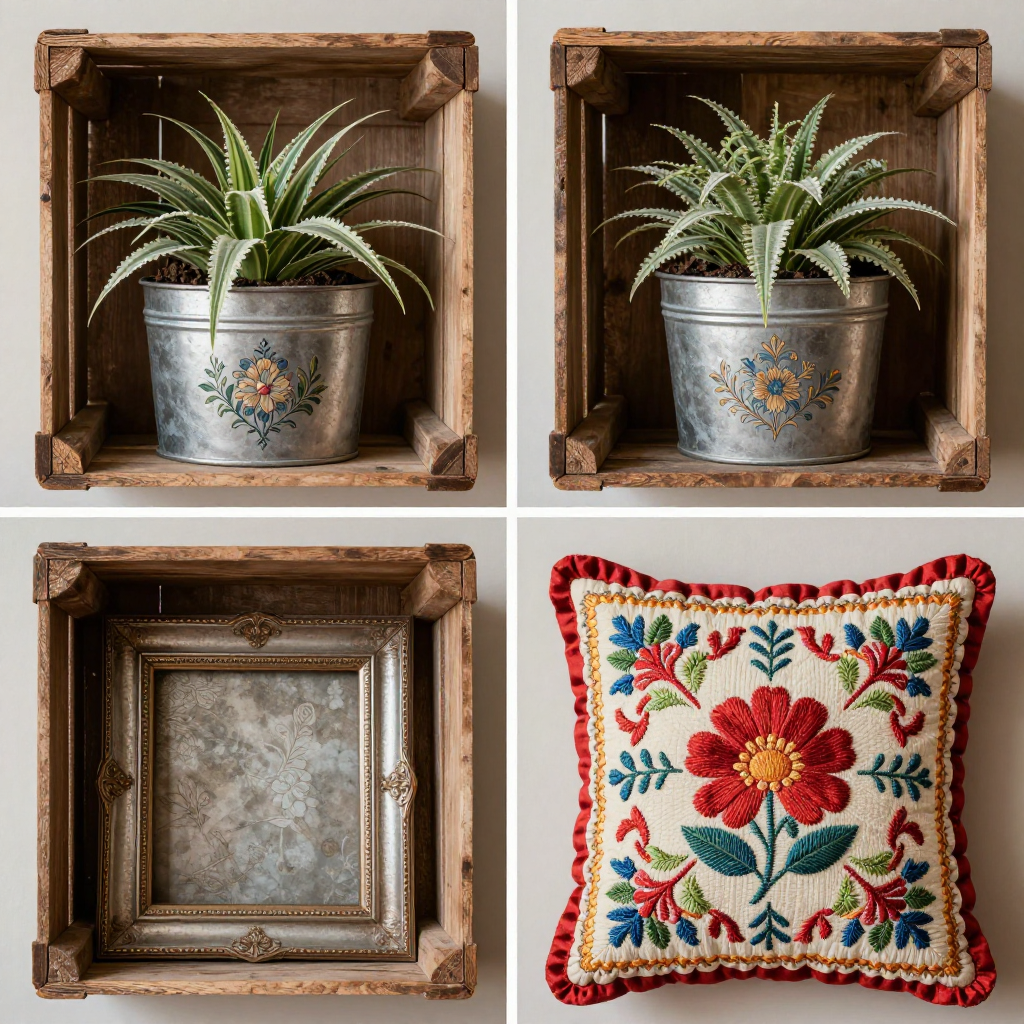
Clean and inspect a vintage crate, then reinforce loose corners with screws or wood glue. Sand rough splinters, leave attractive stamps visible, and finish with clear sealer or a restrained coat of paint. Add wall brackets to create open shelving, stack crates as a freestanding bookcase, or attach casters to make a low storage box. Anchor wall-mounted versions securely into suitable studs or fixings.
Repurpose tins as planters and organizers
Old biscuit tins, tea caddies, and metal containers make useful desk organizers or herb planters. Remove sharp edges, clean away residue, and drill drainage holes if the container will hold a plant. Use a plastic nursery pot inside the tin to protect it from constant moisture. For organizers, add felt pads underneath and divide the interior with thin wood or cardboard.
Convert frames into trays
An ornate picture frame can become a decorative tray with a strong personality. Remove the glass and backing, cut a stable panel to fit, and secure it from behind. Add cabinet handles to both sides, then seal the surface for easier cleaning. Keep the frame’s original finish if it is sound, or paint only the inner panel for contrast.
Make textiles into cushion covers or wall art
Vintage scarves, embroidered linens, grain sacks, and worn curtains can become cushion covers, table runners, or fabric panels. Wash and test for colorfastness first. For a cushion, center the strongest motif on the front and use a simple envelope closure. Fragile textiles are better framed or mounted on a backing board than used where they will receive daily abrasion.
Other useful conversions include turning a shallow drawer into a bedside shelf, a colander into a pendant shade, or mismatched ceramic plates into a grouped wall display. Electrical projects require appropriate fittings and care; when in doubt, use a qualified electrician rather than improvising wiring.
Design Techniques for a Cohesive Look
A cohesive collection of upcycled accessories needs repetition in color, material, shape, or scale. You can mix eras freely when one or two visual features connect the pieces.
Begin with a limited palette. For example, warm white, muted green, and aged brass can unite a wooden crate, metal tin, and frame tray without making them identical. If a vintage item has several colors, repeat one quiet shade elsewhere in the room rather than adding more competing accents.
Texture provides another route. Pair distressed wood with smooth ceramic, woven fabric with brushed metal, or glossy painted surfaces with natural rattan. Keep the strongest texture on one or two focal pieces and let surrounding accessories remain calmer.
- Rustic interiors: Emphasize raw wood, practical storage, iron hardware, and low-sheen finishes.
- Modern interiors: Use one vintage accessory as contrast, with simplified colors and clean placement.
- Eclectic interiors: Repeat a color or motif across different eras and materials.
- Cottage-inspired interiors: Combine painted wood, floral textiles, soft colors, and useful open shelving.
Mixing old and new pieces usually looks more intentional than filling a room entirely with distressed objects. Place an upcycled tray on a contemporary coffee table, or use a vintage textile cushion alongside plain modern cushions. The contrast gives the older piece room to speak.
Finishing and Styling Your Upcycled Accessories
A durable finish matches the accessory’s level of use, while thoughtful styling prevents it from looking like an isolated craft project. Seal high-contact surfaces and display delicate items where their limitations are respected.
For trays, shelves, and frequently handled furniture, apply the recommended number of thin coats of sealer and allow full curing between coats. Paint may feel dry within hours but remain vulnerable to marks for several days. Test the finish with a discreet water droplet or light touch only after the manufacturer’s curing period.
Preserve desirable wear by sealing around it rather than painting over everything. Retain old labels, stamped lettering, patinated brass, and small areas of rubbed paint when they are stable. If a surface is flaking, remove only loose material and stabilize or cover it safely.
Style finished pieces in zones: use a crate shelf for books and a small plant, a frame tray for candles and a carafe, or a tin organizer for scissors and stationery. Leave some empty space. A useful accessory feels intentional when the objects around it have a relationship in scale or purpose.
Common Mistakes to Avoid
The most common upcycling errors involve rushed preparation, weak construction, and finishes that ignore the object’s material or history. Each problem is avoidable with a short inspection before work begins.
- Inadequate cleaning: Dust, grease, and old polish prevent primer and paint from bonding. People often rush because cleaning feels less creative, but peeling paint can force you to repeat the entire project. Wash, dry, and test adhesion before decorating.
- Using unsuitable materials: Interior wall paint may scratch on a tray, and ordinary glue may fail on damp metal or flexible fabric. Match the product to the surface and intended use, then follow its application instructions.
- Ignoring stability: A crate shelf or drawer table can tip if joints, brackets, or wall fixings are weak. Test the empty structure first, apply gradual weight, and anchor tall or wall-mounted pieces properly.
- Adding excessive decoration: Too many stencils, knobs, transfers, and colors can hide the original character. Choose one main intervention, then stop when the object’s shape and material are doing enough work.
- Sealing away all signs of age: A thick opaque finish may make a vintage piece look generic. Preserve stable marks and patina, and use selective paint or clear protection instead of complete coverage.
Frequently Asked Questions
These answers cover the preparation, materials, and styling decisions that matter most for beginner upcycling projects.
How do you prepare vintage items before upcycling?
Inspect the item, photograph its original details, clean it gently, let it dry, repair loose parts, and lightly prepare the surface. Test primer, paint, glue, or sealer in a hidden area before applying it broadly.
What vintage finds are easiest for beginners to transform?
Wooden crates, small frames, metal tins, shallow drawers, simple stools, and sturdy textiles are approachable choices. They have clear shapes, require limited tools, and can become storage solutions or decorative accessories without complex construction.
How can you make an upcycled accessory look polished?
Use a restrained color palette, measure carefully, smooth rough edges, choose suitable hardware, and allow every coat to dry fully. Polished results usually come from preparation and proportion rather than adding more embellishment.
Which paints and finishes work best for different materials?
Use furniture or acrylic paint with a compatible primer on many wood surfaces, metal primer on bare metal, and textile paint or textile medium on fabric. Protect high-use surfaces with a compatible clear sealer; wax offers a softer look but may need more maintenance.
How do you combine upcycled pieces with modern decor?
Use one or two vintage focal points, then connect them to modern furnishings through repeated colors, clean spacing, or shared materials. A distressed object often looks more contemporary when surrounded by simple shapes and uncluttered surfaces.
Upcycling vintage finds is a flexible way to practice sustainable decorating without sacrificing function. Choose carefully, prepare patiently, and let each object keep enough of its former identity to make the finished accessory feel personal.